Search K
Appearance

Imports a previously exported Minute Controller Feature Settings configuration as a .json file.
Exports the currently configured Minute Controller Feature Settings as a Tentech.DocControl.Schema.json file.
Saves the currently configured Minute Controller Feature Settings session. Application features will reflect their saved configured Feature Settings immediately.
INFO
Upon saving Feature Settings, the changes will be immediate and active within any open Vault Client sessions, and a restart of the Vault Client is not necessary. However, a restart of any open Vault Clients is required when enabling a feature via the Enable Features Setup page.
Each of Minute Controllers features and utilities is configured within the Feature Settings page. Prior to configuring each feature, check that the feature has been enabled within the Enable Features Setup.

Tools are typically aimed at every day Vault users or Vault administrators.
User Tools include;
All of which must be enabled under Enable Feature Setup prior to following their configuration steps below.
When set to true, a local log file DocControlGeneral_DebugLog is created within the temp directory;
C:\Temp\TTGENERALLOGS\2026-03-16_DocControlGeneral_DebugLog.txt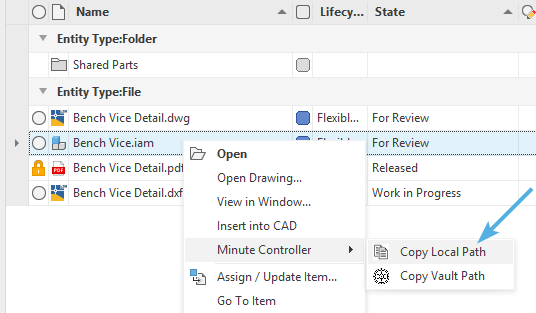
When set to true, the Local Workspace Path of the selected file will be copied to the Clipboard.
C:\Workspace\Designs\Bench Vice\Bench Vice.iam
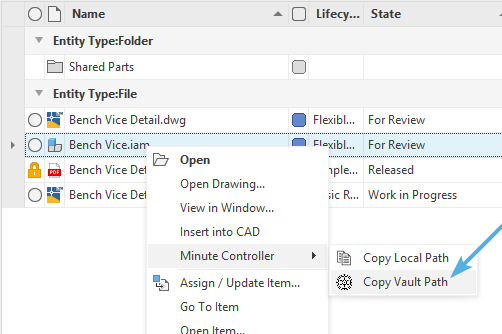
When set to true, the Vault Path of the selected file will be copied to the Clipboard.
$/Designs/Bench Vice/Bench Vice.iam
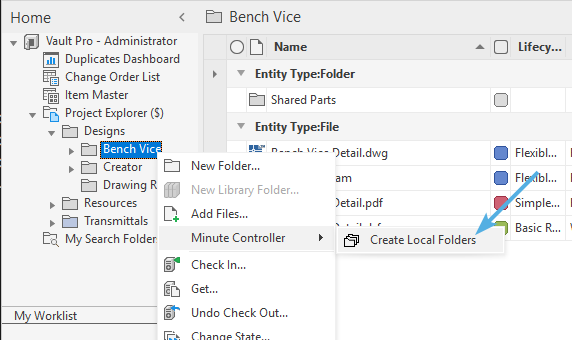
Propagates the selected folder structure (including sub-folders) into the workstations workspace. Only folders and sub-folders are created during this operation.

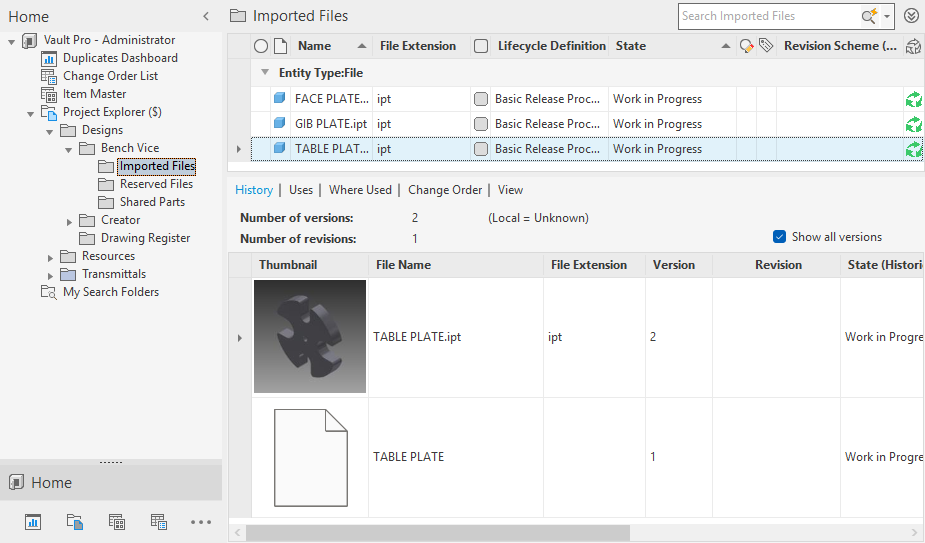
The above example shows Create Local Folders executed on the Bench Vice folder, resulting in the creation of the folder structure (without files) within the workspace.
Specify Vault Folders that will be synchronized to the Local Working Directory when Vault is started.
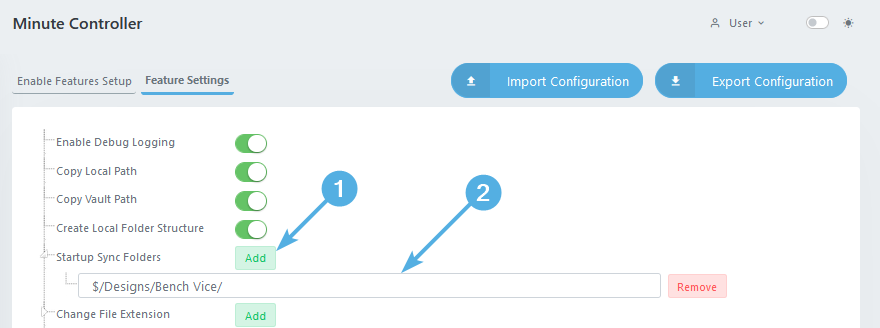
Click the green Add button.
Specify the Vault directory required to be synced, for example;
$/Designs/Bench Vice/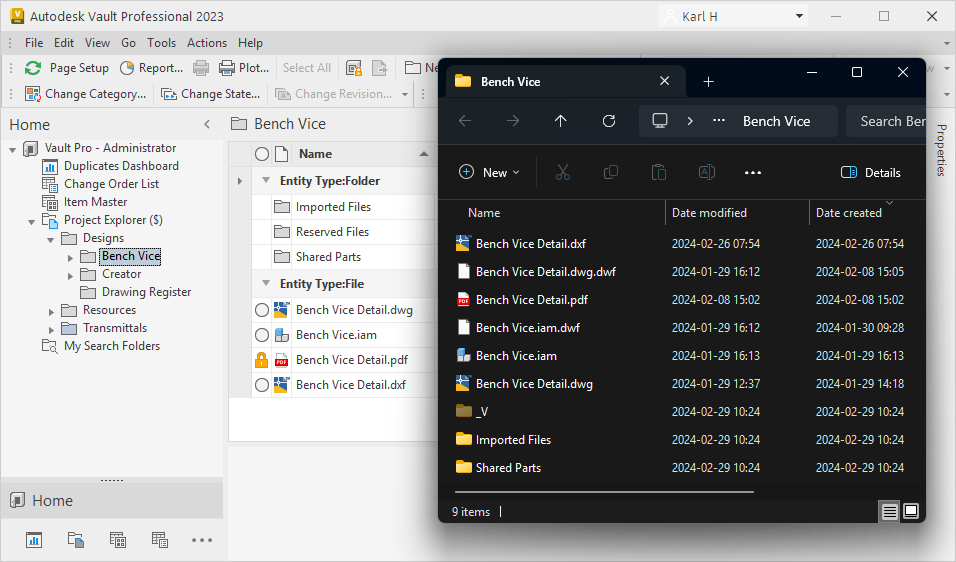
The above example shows how upon starting Vault, the Bench Vice folder and all files sub-folders containing files are synchronized to the local working directory.
TIP
Use the Minute Controller Copy Vault Path by right-clicking and selecting a file to quickly copy the Vault folder path.
The Change Extension tool allows for a file extension to be changed, or a file extension to be added to a file lacking an extension.
TIP
When the Vault setting Enforce Restriction for Check In of Design Files is enabled and preventing the check-in of CAD files, the Change Extension tool may be used to circumnavigate this restriction. Use the Change Extension tool to repaire files that have been checked-in whilst stripped of their extension.
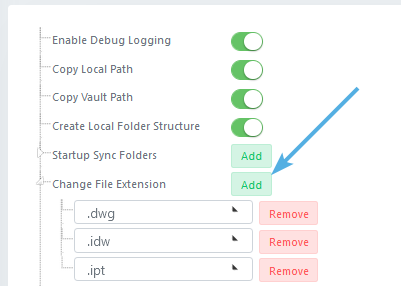
Click the green Add button to add common desired formats to the Change File Extensions that will be available within the tools extension pick-list.
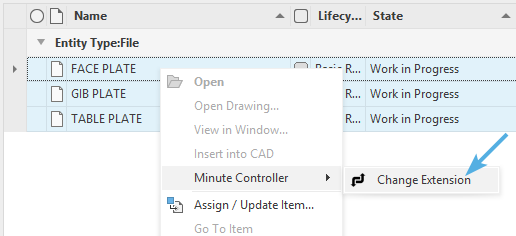
To use the tool, right-click selected multiple files and selected Minute Controller -> Change Extension.
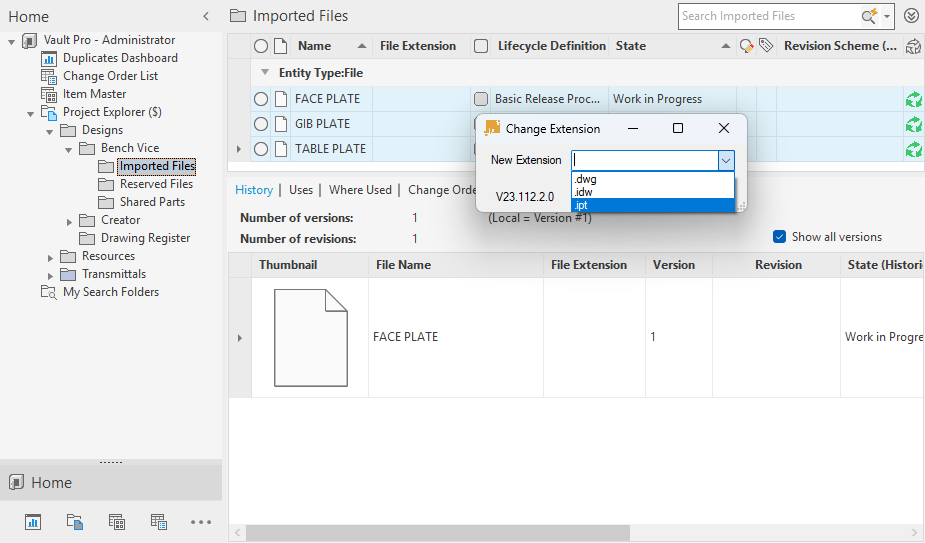
Either select an extension from the pick-list, or enter a new extension to apply to the selected files.
Note how upon updating the files extension and new version of that file is created.
With the Queue Jobs enabled, the Queue Jobs Manuallysettings need to be defined.
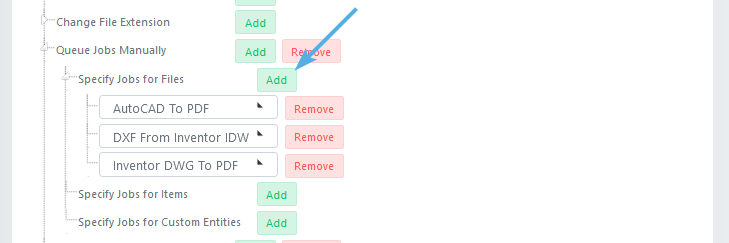
Click the green Add button and enter in the name of each Job required to be available for Vault File usage via the Minute Controller Queue Jobs workflow.
Click the green Add button and enter in the name of each Job required to be available for Vault Item usage via the Minute Controller Queue Jobs workflow.
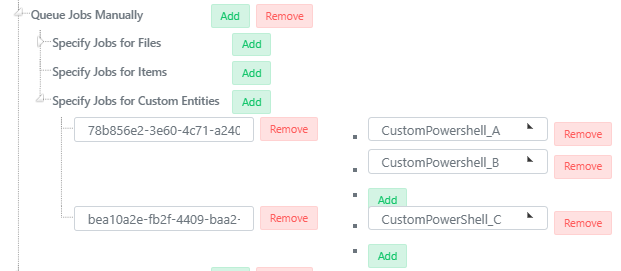
All Vault Custom Objects must first be specified within the Feature Setup Custom Entity GUIDs.
Click the green Add button to create a new Custom Entity entry, each with its own set of selectable Jobs.
The Key represents the Vault Custom Object ID, and each Value represents a Job available to use via the Queue Jobs Tool, typically powershell Jobs.
Follow the Custom Object Job Application Guide for a step-by-step approach for setting up this feature.
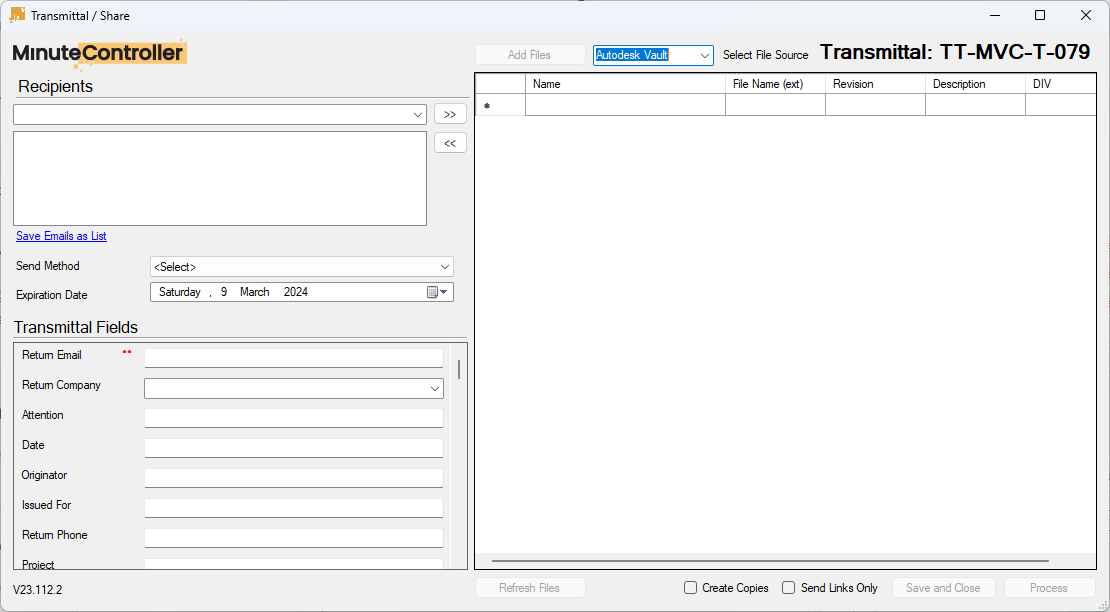
Specify all settings for Transmittals.
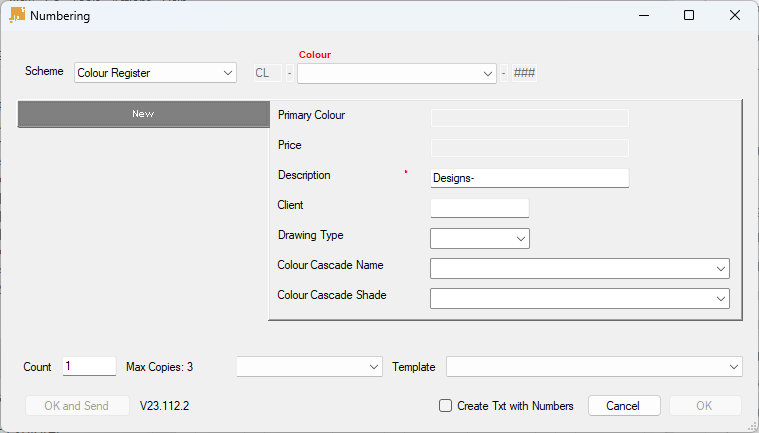
Specify all settings for File Numbering and Registration.
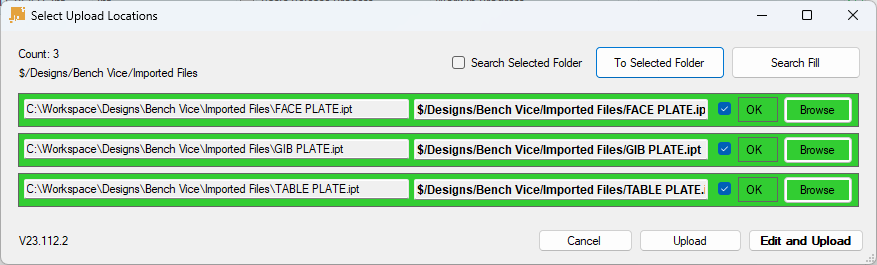
With Import Files enabled, click the green Add button next to Import Files Tool.
Enable Edit and Upload button is available in the MinuteView For Enterprise plan only.
Imported Files Datasheet Props integration is available in the MinuteView For Enterprise plan only.